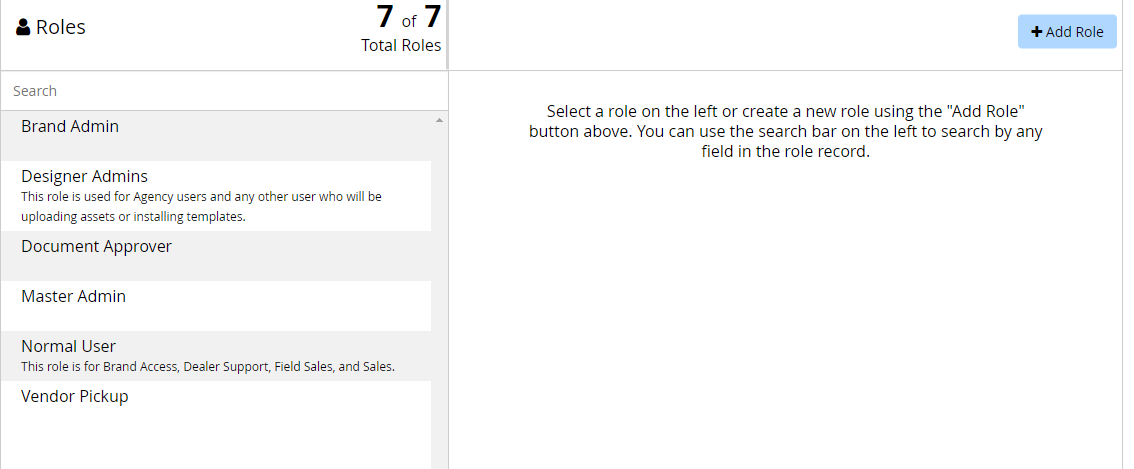
Default Roles
There are 7 roles that come pre-installed in CampaignDrive, each with a pre-defined group of permissions:
- Brand Admin
- Designer Admins
- Document Approver
- Master Admin
- Normal User
- Vendor Pickup
How to Create, Edit and Delete User Roles
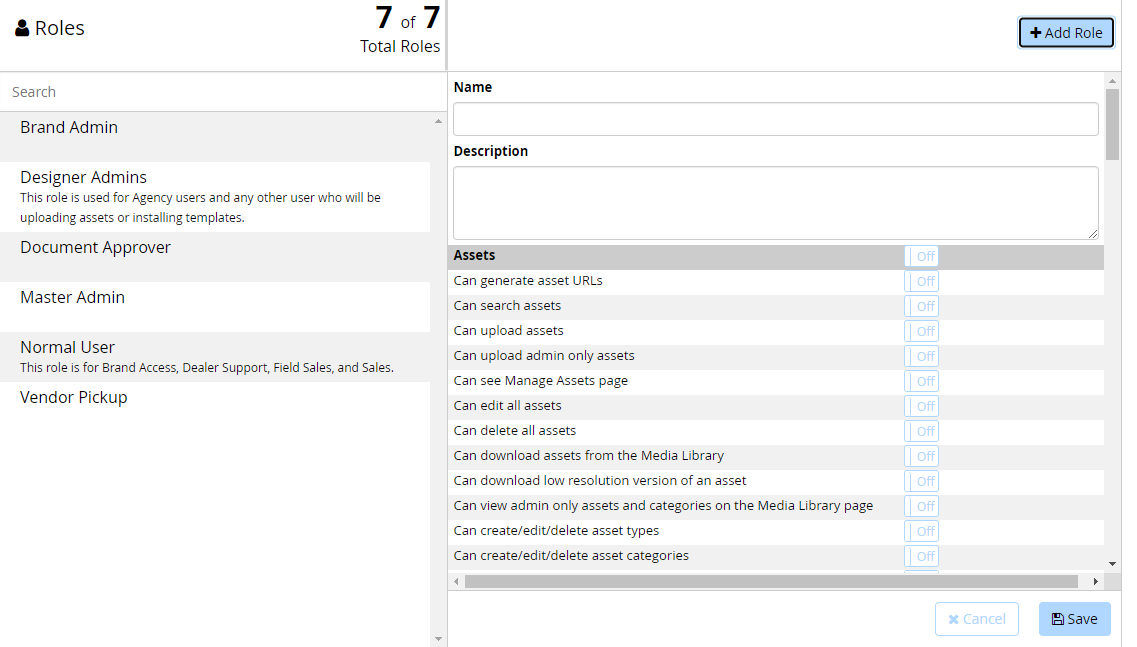
To add a new role:
- Click "Add Role" button
- Name your role, add a description and select the permissions you want to add to the role
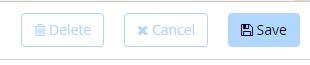
- Click the "Save" button
After creating a role, it will be available to users on the "Users" tab on the "Application Settings" page.
To edit an existing role:
- Click on the role name on the "Roles" tab (on the left side of the page)
- Make your changes on the "Roles" tab (on the right side of the page)
- Click the "Save" button
To delete a role:
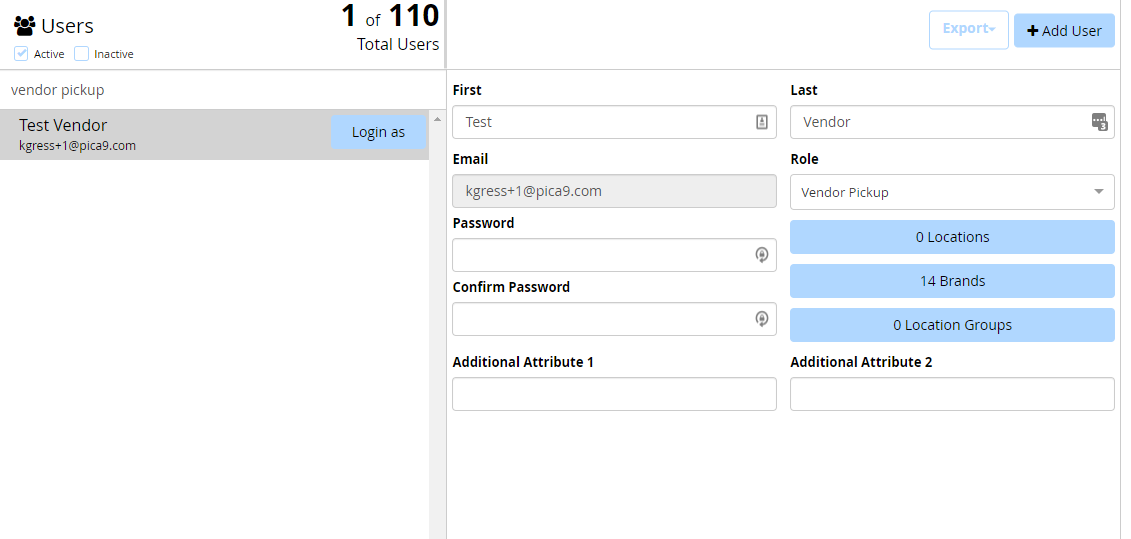
Before you can delete a role, you must make sure that all users associated with the role you want to delete are associated with another role so your users will be able to log into CampaignDrive after you delete the role. To do this, go to the "Users" tab and type the role in the search bar located directly below "Total Users" to find all users associated with the role then change the role for each of the users.
User Table Showing Role Search and Role Field
After you have removed all associations from the role, delete the role on the "Roles" tab by clicking on the role name on the "Roles" tab and clicking the "Delete" button on the lower right. The "Delete" button will not become active until all users are removed from the role: