Introduction to Site Parts
Site Parts is a feature that allows administrators to add custom messages and visual elements to any page in CampaignDrive.
Site parts can:
- Contain text and images
- Link to internal CampaignDrive pages and external pages
- Be displayed on some or all pages
- Be applied across brands and regions
Adding a Site Part
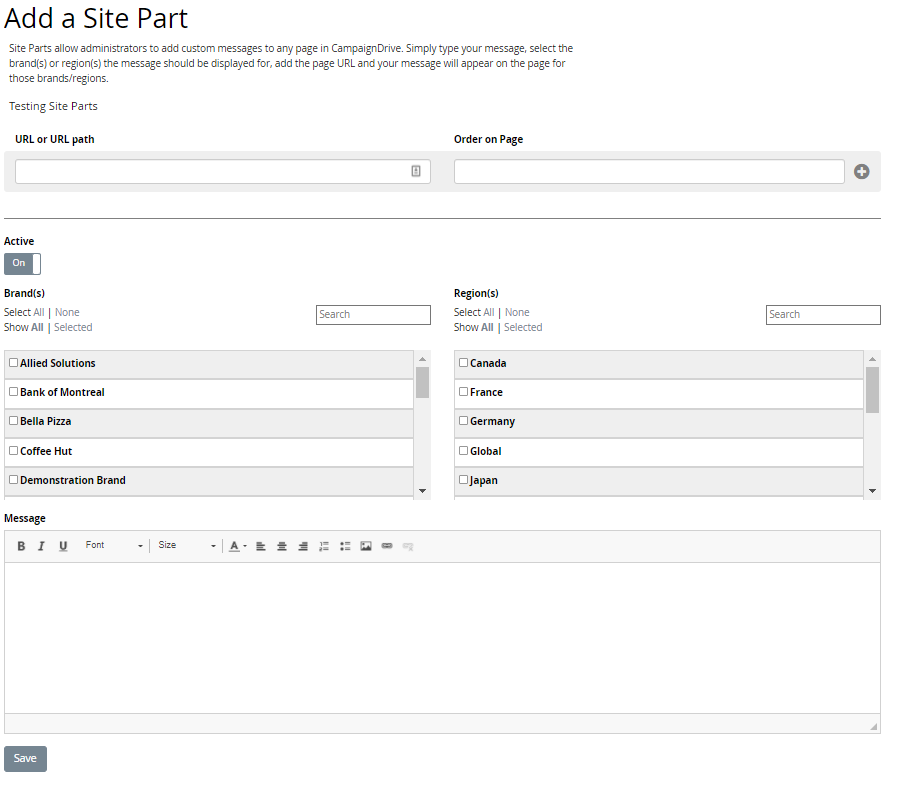
The site part tool can be accessed by going to Admin>System and selecting “Site Parts” under “Site Text”.
Next, click “Add a Site Part” to create a new message. Fill out all information and click "SAVE" at the bottom of the form to apply the site part.
Site Part Fields
- URL: The URL of the page the site part will added to. You can paste in the full URL, but the system will shorten it to only the information following the /cd/. So instead of sitename.pica9.com/cd/admin, only the /cd/admin will display. There can be more than one URL assigned to a site part.
- Order on Page: Similar to “priority” in Campaigns/Events, this is used to designate the display order of a site part on a particular page. For example, if the order of a site part on the campaign page is “0” then it will appear before a site part with order “1” on that same page. If the site parts have the same order on the same page, then the one that was created first will appear first.
- "+" Button: Use the "+" button to save your changes to the URL and page position. This button must be clicked in order to save the site part.
- Active Button: The "Active" button is "ON" by default when a site part is created. If a site part needs to be hidden, it can be de-activated by clicking this toggle.
- Brands/Regions: These two multi-select boxes allow to specify which brand(s) and/or region(s) the site part will appear for. Below are several use cases for brands and regions.
- One Brand, No regions -will only display in the selected brand.
- No Brand, One region - will only display for the selected region.
- Multiple Brands, No region - display only for the selected brands.
- No brands, multiple regions - will only appear for selected regions.
- Multiple brands, Multiple regions - will only display for selected brands and regions.
The only time this logic does not apply is for the “Login Page." Any site part added to that page will display for all brands and regions.
- Message: The area where you can add your message, links and even images.
Note: Images are not constrained/reduced and will display in their actual size, so it is recommended that images no larger than 200 x 200 px are used.
Once all the necessary information is entered, click “Submit” to add the site part to the specified page.
Using the Site Part Editor
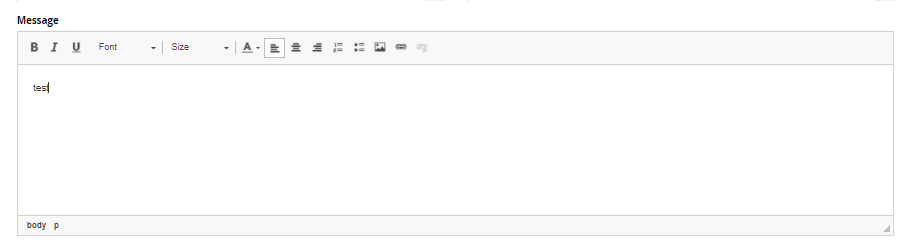
Adding Text
The site part editor is a simple text editor that gives the admin the ability to make simple styling choices for text. Note that the fonts and colors available are NOT the same as those installed on your system - they are a smaller set of web fonts and a standard hex color picker.
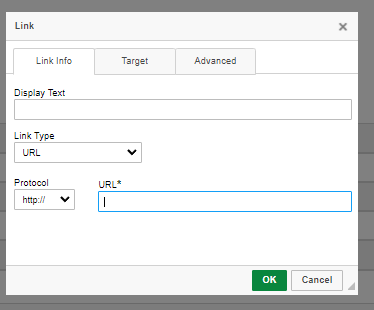
Adding a Text Link
To add a text link, click the link icon in the CK editor to open the Link Editor.
Adding Images
To add images to a site part, you MUST first add the image to your Media Library. Images for site parts are hosted within your Media Library and will have a global URL path.
Use this URL structure when linking to your image:
https://{site URL}/cd/asset/permalink/id/{asset id}
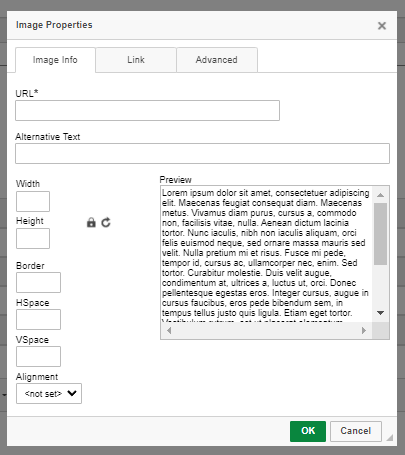
Example: https://training.pica9.com/cd/asset/permalink/id/1272397
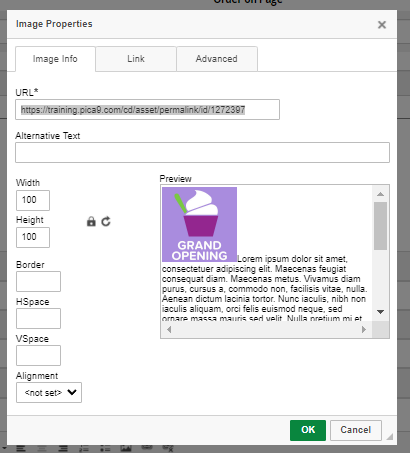
Notice that simple styling can be added such as a specific height, width and border.
Adding an Image Link
A link to the image may be added by clicking the "Link" tab in the Image Editor:

Simply cut and paste the URL that the image should link to. Select any other properties desired and click "OK."
URLs for Site Pages:
General Structure: /cd/{Part of URL that appears in URL link at top of any webpage}

For a site part in help content: /cd/help-content-section/toc
For a site part on the Login Page: /cd/login/index
For a site part on the Home Page: /cd/index/home
For a site part on the main campaign page: /cd/campaign/select/campaign
For a site part on a specific campaign page: /cd/campaign/index/campaign/XXX
where XXX is the campaign id number