How to properly set the artboard size for vector or transparent graphics used in CampaignDrive
Any asset to be used in templates that is not a rectangular jpg image is considered to have transparency and should be verified to ensure that the art size will render properly. The first step is to check the asset to see how the artboard and whitespace are set up. This can be done in either Illustrator or Photoshop.
If the artwork has white space around it or an irregular artboard, one of two adjustments must be made in order for CampaignDrive to properly size this graphic and to avoid unwanted effects:
- The artboard size must be fit to the size of the artwork
- A bounding box must be created to set the artboard size
It does not matter which option is chosen - either will work. For many graphics, fitting the artboard is often the easiest. For brand graphics or other situations where placement on the artboard is important, the second option is often chosen.
Illustrator
Open the file in Illustrator:
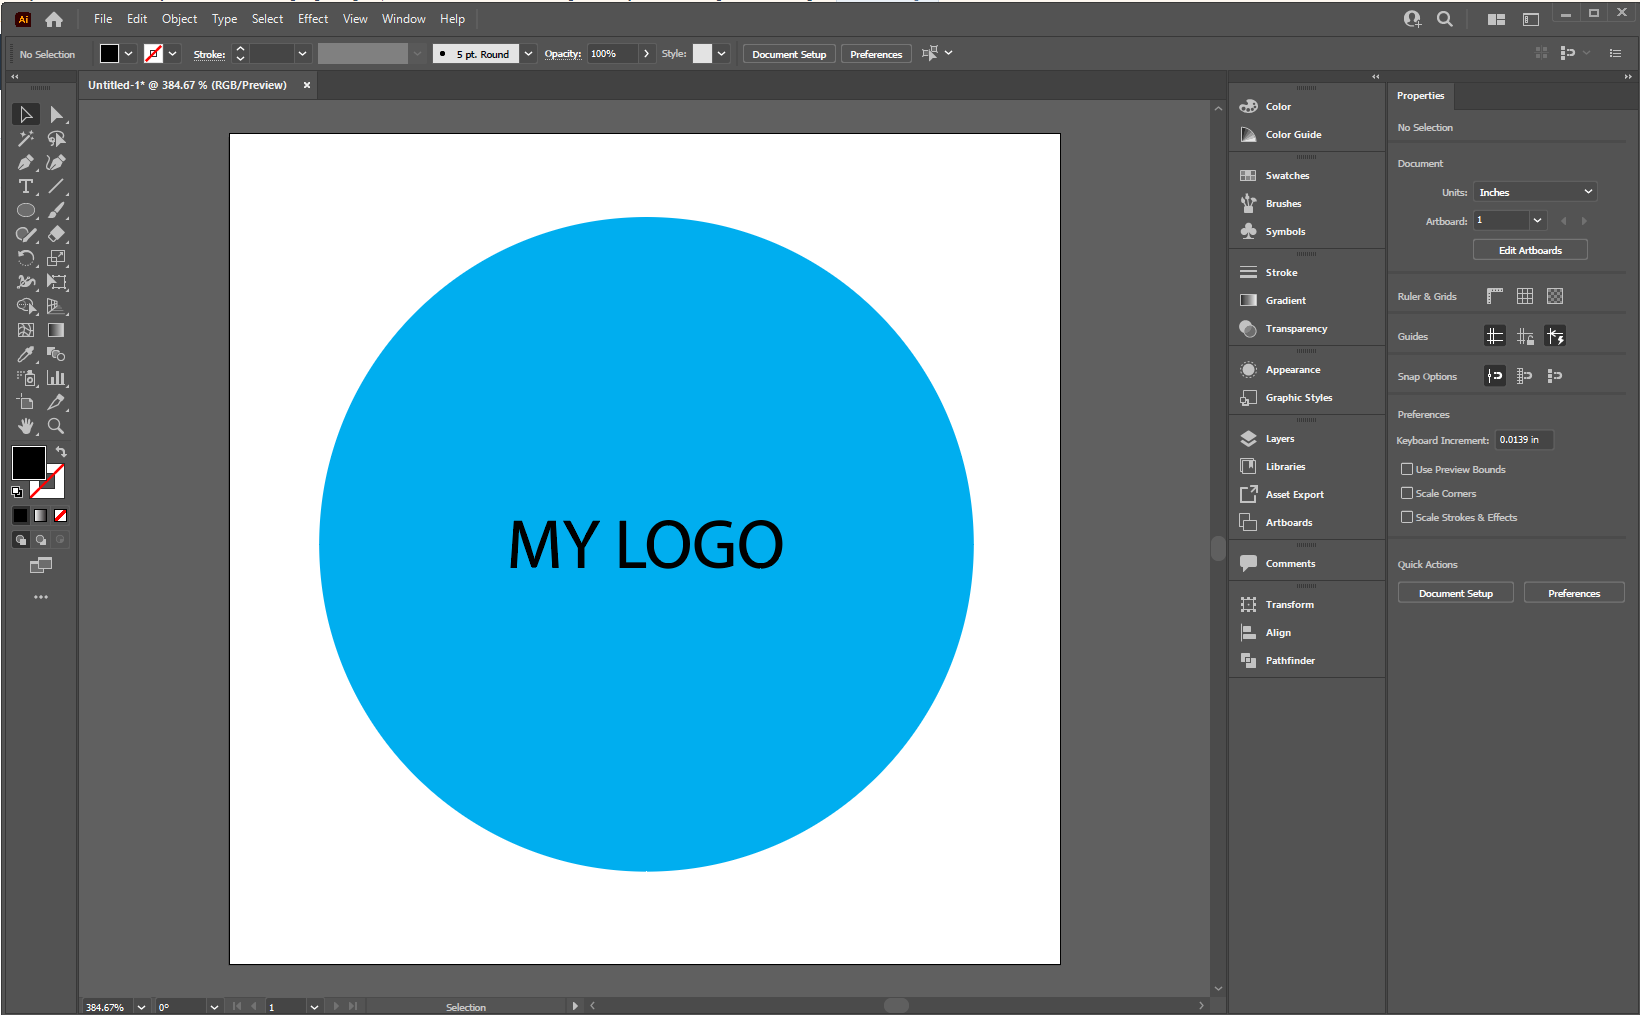
This logo has white space around it - the artwork does not extend to the edges of the art board.
Fitting the Artboard to the Artwork Bounds
To fit the artboard to the artwork, Go to Object>Artboard>Fit to Artwork Bounds:
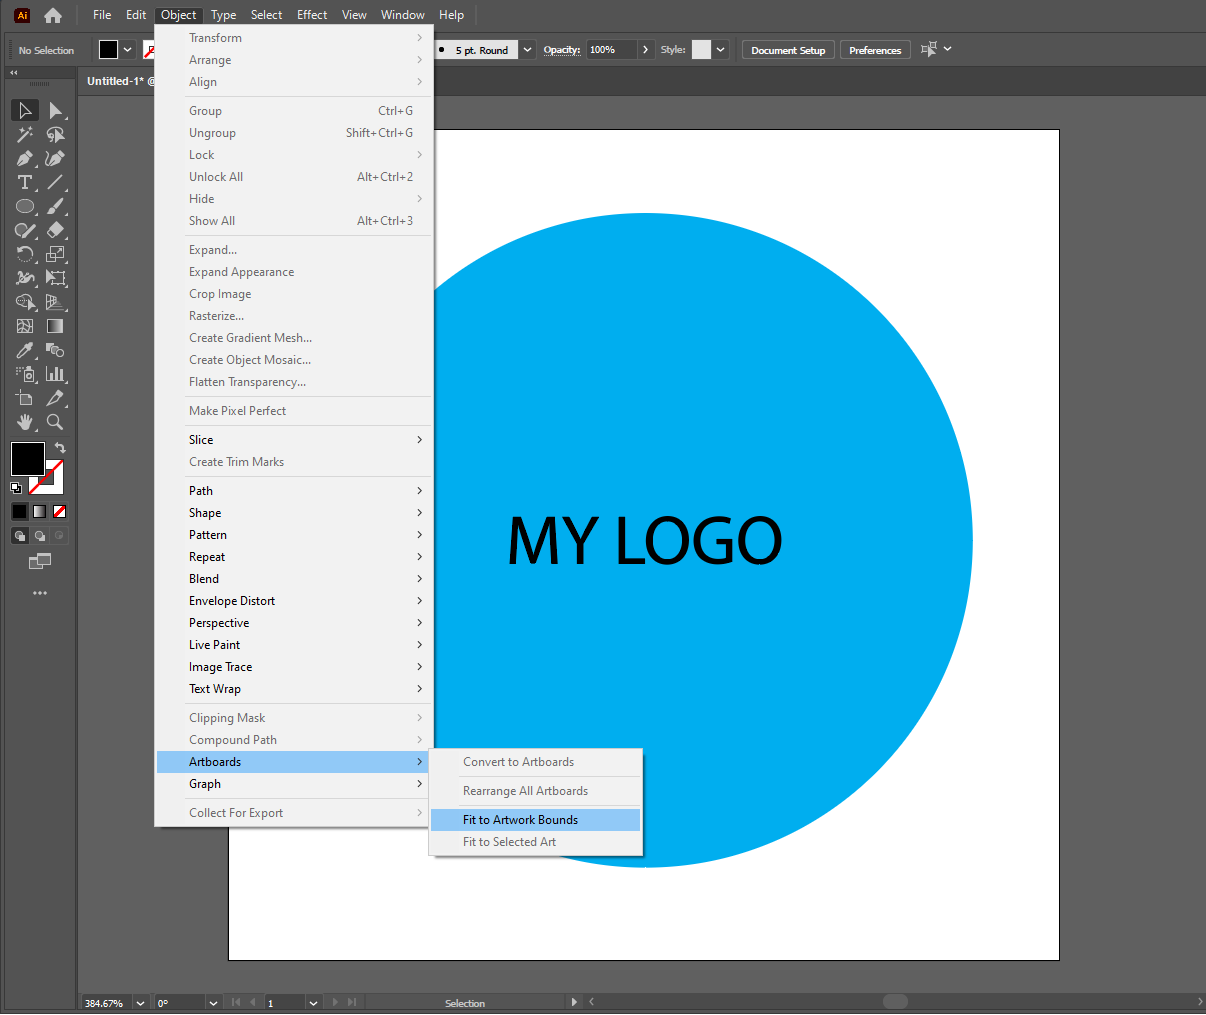
This will fit the artboard to the art:

Creating a Bounding Box
For applications where fitting the artboard is not desirable, a bounding box may be created to set the artboard. Simply create a new layer and draw a no stroke-no fill box at the artboard boundary:
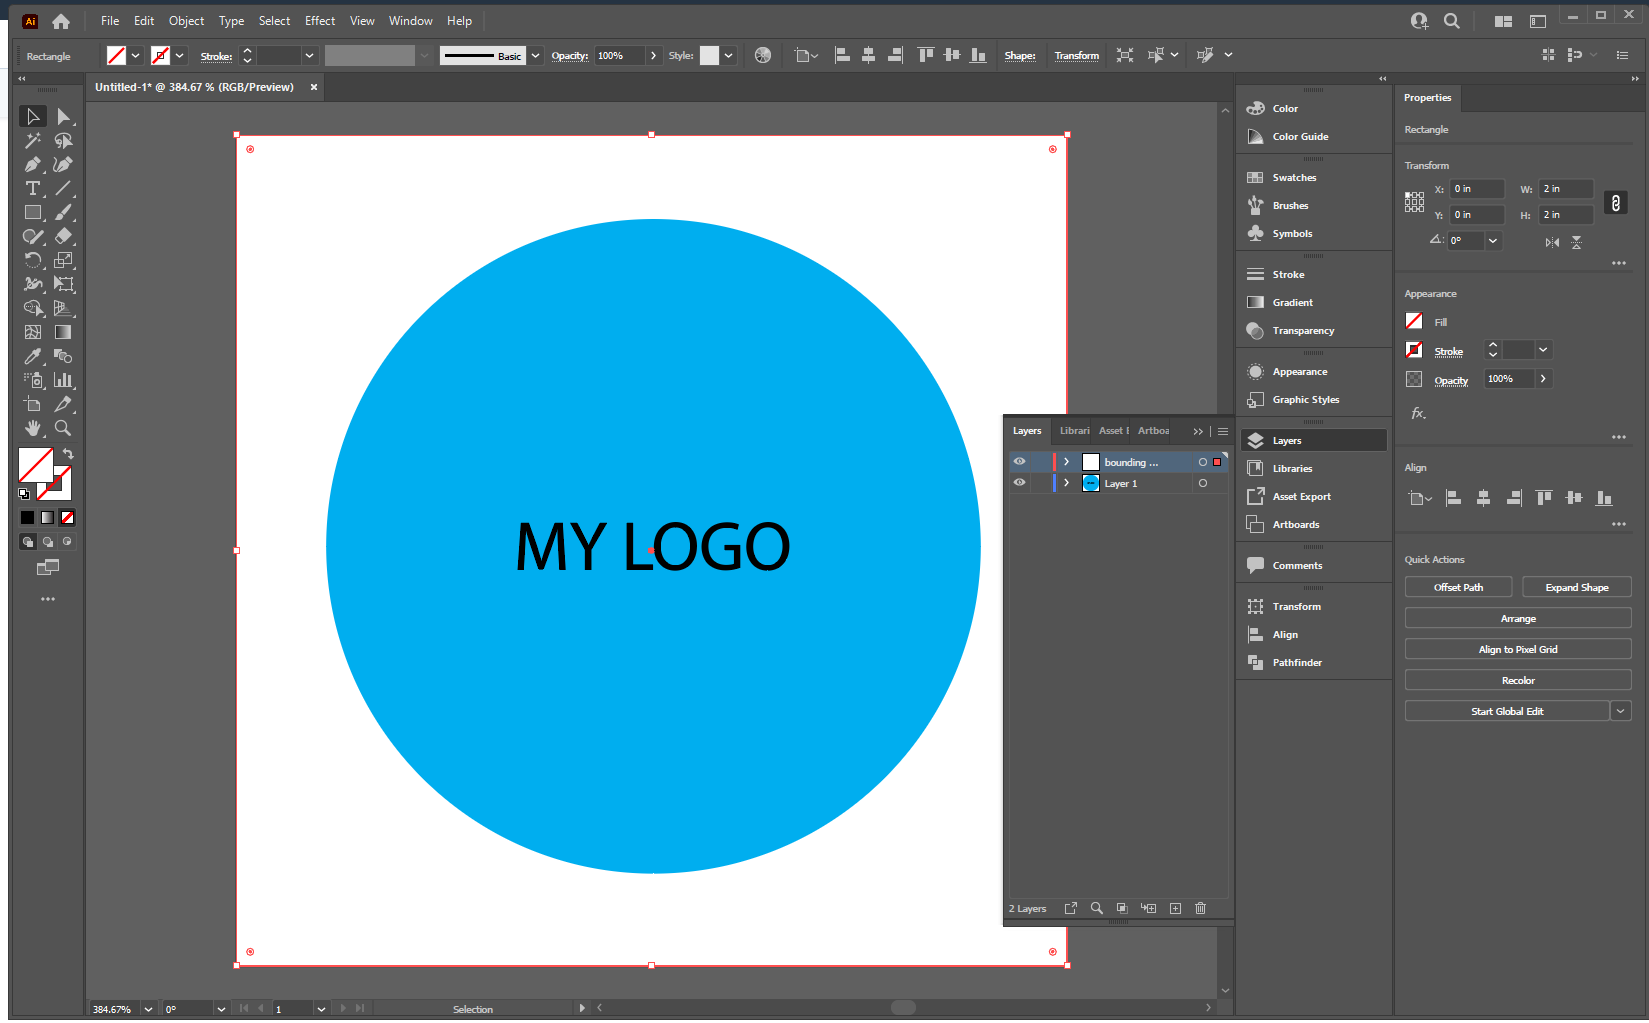
This will ensure that the artboard size is maintained.
Photoshop
Open the file in Photoshop:
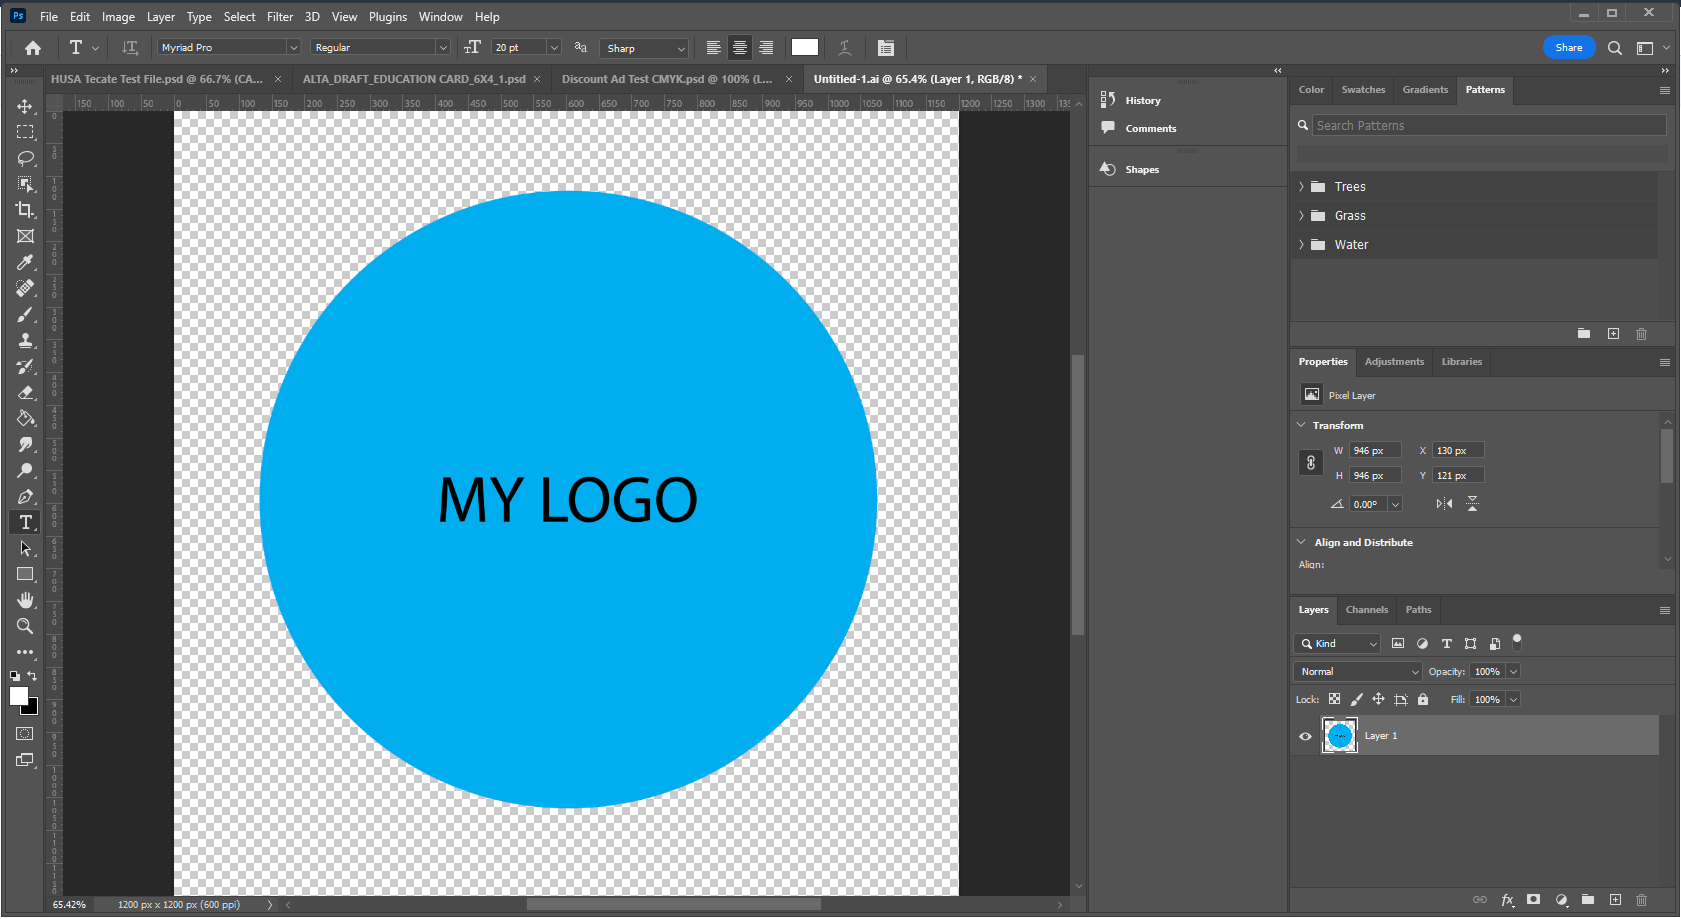
Fitting the Artboard to the Artwork Bounds
To fit the artboard to the artwork, Go to Image>Trim>Trim Transparent Pixels:
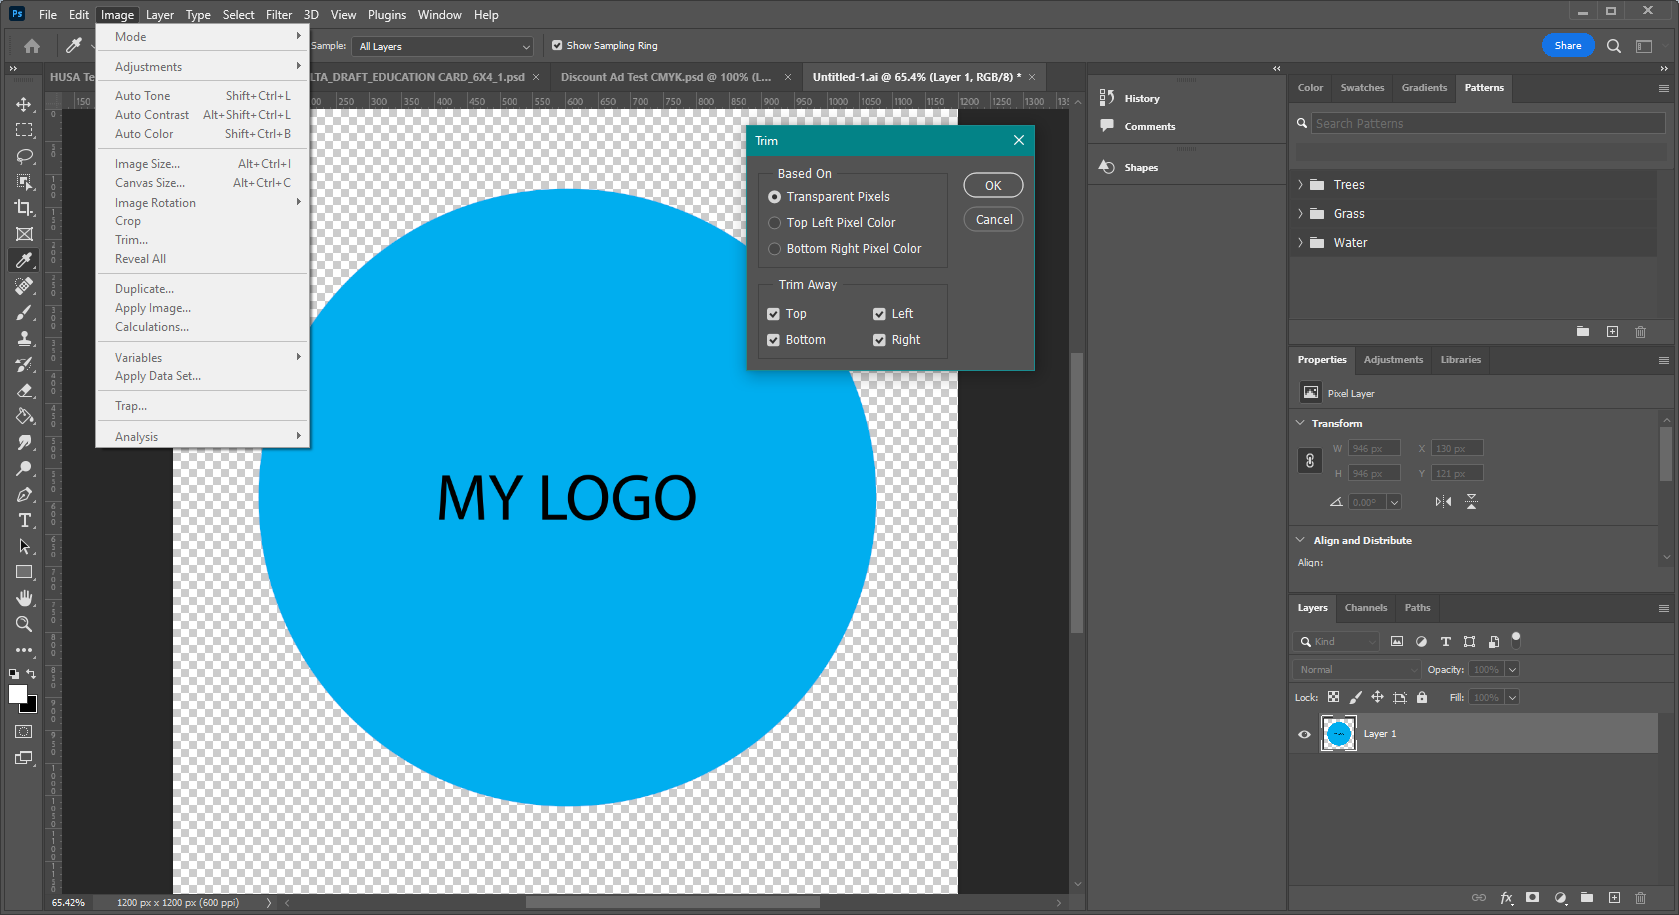
This will trim away any transparent parts of the image:

Creating a Bounding Box
PDF files saved out of Photoshop do not require the additional bounding box to be drawn - this is automatically done when Photoshop creates the file.