Applying Location Tags to Section Style Text to create a Location Section Style Template
Tagging Content for Location Section Styles
Location section styles use regular location tags plus a special identifier that we call an "Index Number." The index number is used to identify which location should populate in the tag when the End User selects locations on the front end. When the section style layout has been completed, tag the text content as follows:
Adding the Location Tags
Click the text layer that needs to be tagged to open up the Text Layer Editor:

Highlight the text and click "Add/Edit Tag":

When the tag selector opens, choose "Location" as the type. A form will open up to add information about the tag:

- Title: The title appears above the form field on the front end. The title can be used to provide directions to the end user. The title does not appear on the template.
- Max Length: This field can be used to specify a max number of characters for the field (such as for numerical values).
- Editable: On by default, turning this off will render the field locked for editing by end users.
- Field: Select the field from the location table
- Sort: Only used for batch campaigns. See the documentation on Campaign Management for additional information.
- User Style Options: Not available for section style tags.
Click "Add" to apply the tag and close the box. The content is now tagged:
![]()
Repeat this for all content that needs to be tagged.

The text fields have been assigned their location tags. At this point, the location that appears on the template is the location to which the user is currently assigned.
Adding the Index Number
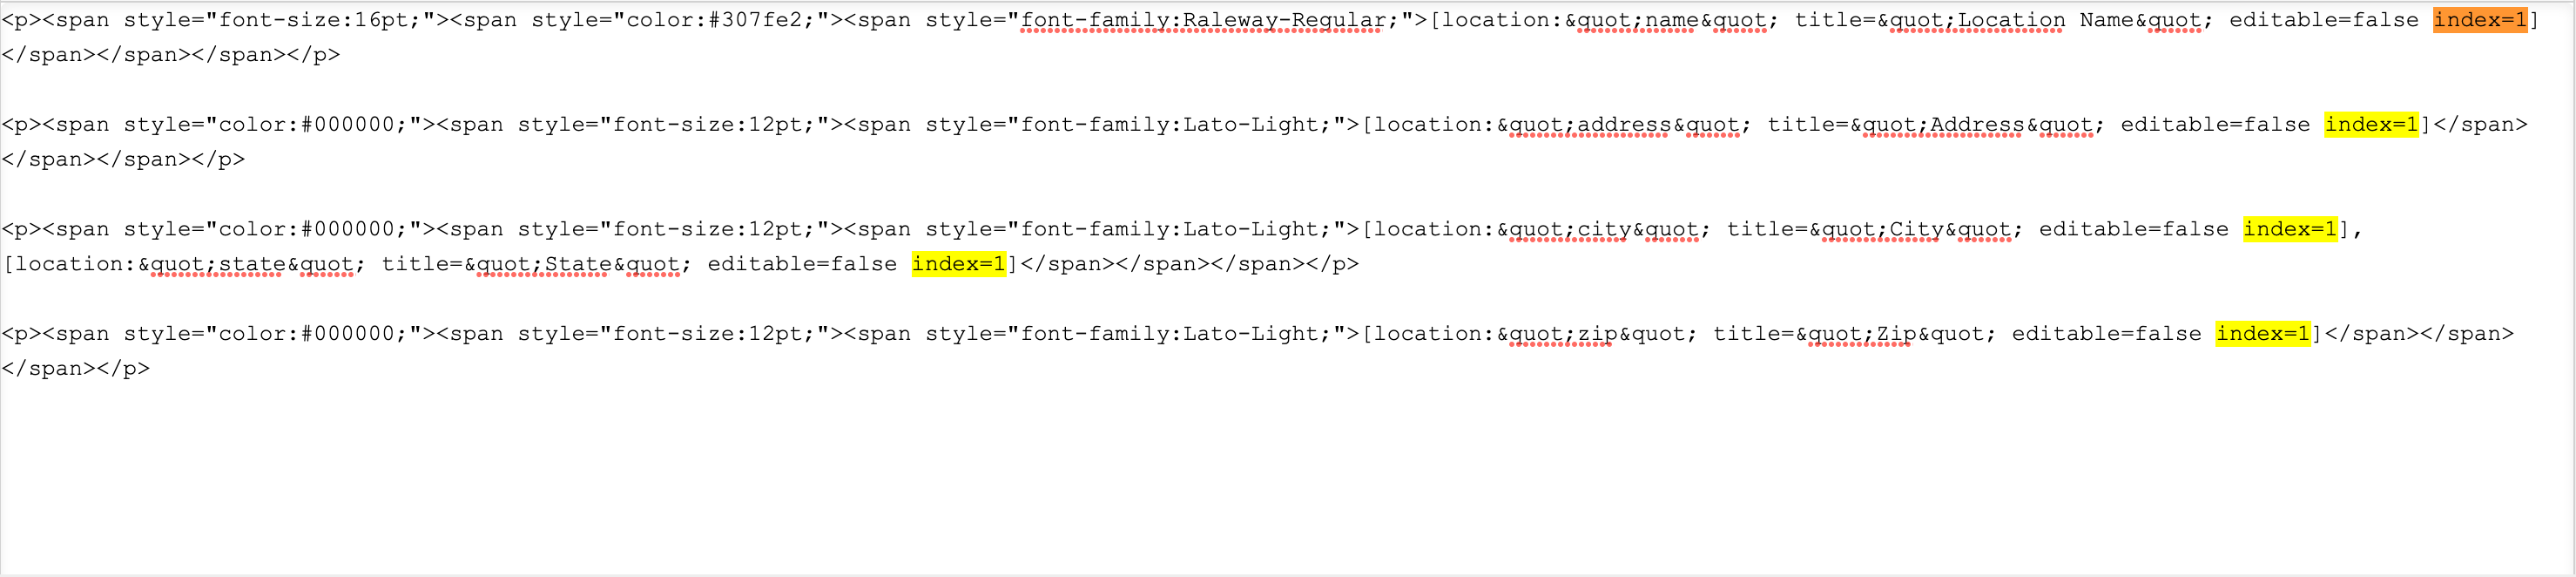
The next step is to add the index number to the tags. Index numbers need to be added manually to location tags. The format for an index number is: "index=X" where X is the slot number that should be applied to that content. For example, if there are 3 sets of locations on the section style template then the tags for the first location will all have Index=1, the tags for the second location will all have Index=2 and the tags for the third location will all have Index=3. The index number is added at the end of the tag, just before the closing brackets:

Once the index number is added to the location tag, the tag information will no longer appear on the section style template. This is because there is no location assigned to this content. The content will be determined by the End User on the front end when they select their location or locations.
PRO TIP: If you are building multiple Section Style templates, to support a variable number of locations, start with the template with the most locations first. Then, use the "Clone" feature and remove the excess locations as needed. Don't forget to update the "Total Item Slot Count" in the Document Settings to reflect the updated number of locations.
For example, if you are creating location section styles to support 1, 2, 3, 4, or 5 locations, create the 5 location section style first, clone, and then remove 1 location to create the 4 location section style. Update the "Total Item Slot Count" from 5 to 4 and Save.
PRO TIP: Apply all of your tags as you want them to appear, test the functionality, and then apply the formatting.
PRO TIP: If you are looking for something specific in the source code view, use Command+F/Control+F. Using this function will highlight the text that you are searching for, as displayed in the screenshot below.