Introduction to Dynamic Templates
A dynamic template in CampaignDrive refers to a template type that allows you to create documents with different sizes, all from the same template. This is different from a static (regular) template, where the size of the document cannot be changed. Dynamic templates are accessed the same way as a static template and, once the size has been entered, are customized and completed the same way.
Identifying a Dynamic Template
The link to a dynamic template will look the same as any other template:
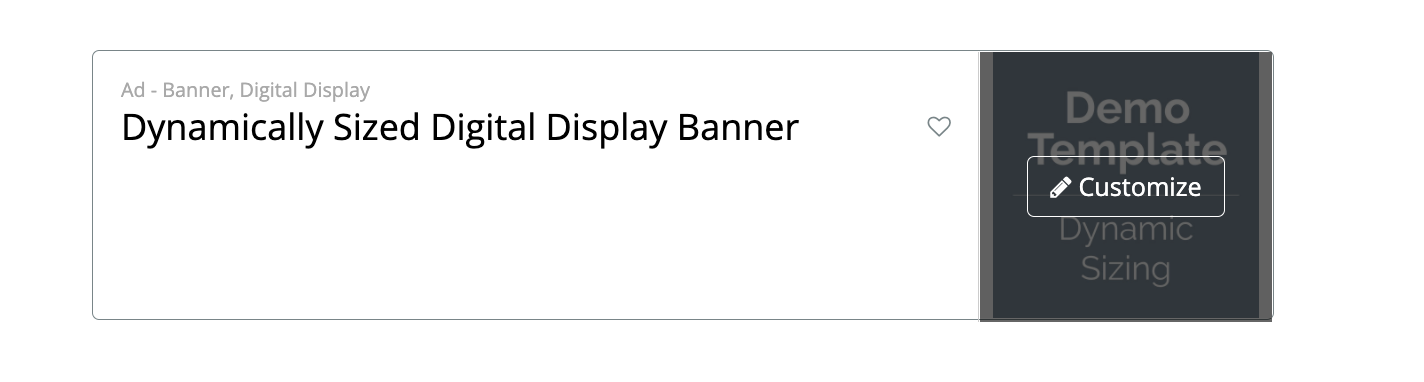
Often, the description or title will tell you that it is dynamic, but not always. Dynamic templates will never be set up to directly download - they will always have the “Customize” button. Clicking the button takes you to a screen where you will set the size of the document.
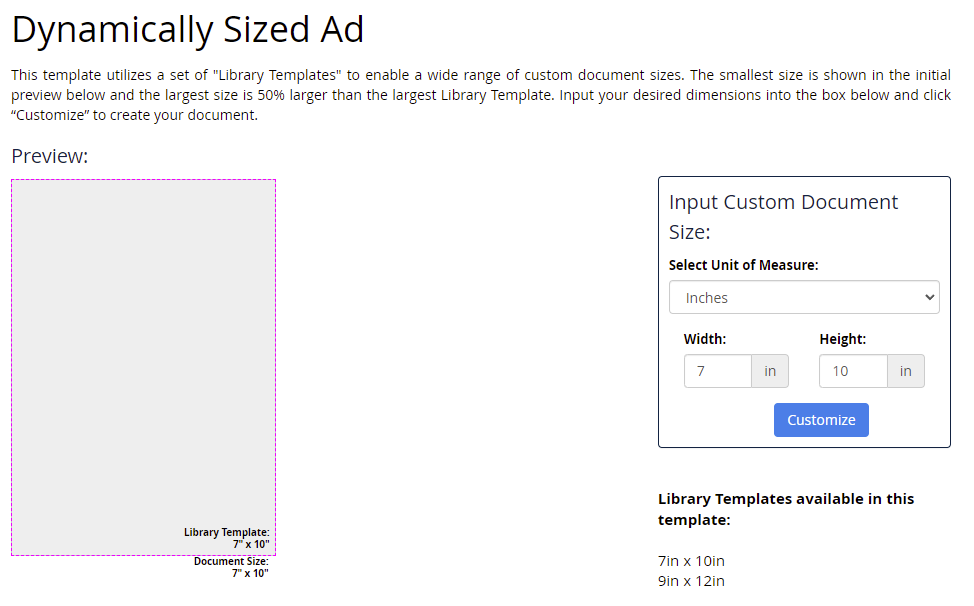
The Dynamic Template Interface
On the left is a box that represents the height and width of the smallest available document size for the template. Notice that there are two measurements. One is for the Library Template and one dof the Document Size. Library templates are layouts created at specific sizes to assist with the re-sizing of the final document. The document size shown is based on the dimensions of the smallest available library template. This size is set by your system Administrator and can vary between templates. If the smallest size does not work for your document, you should reach out to your Administrator for assistance.
On the right are controls for setting the measurement type (for print ads) and inserting the height and width of your document. Underneath this box is the complete list of the library template sizes used to create this dynamically sized template.
Setting the Document Size
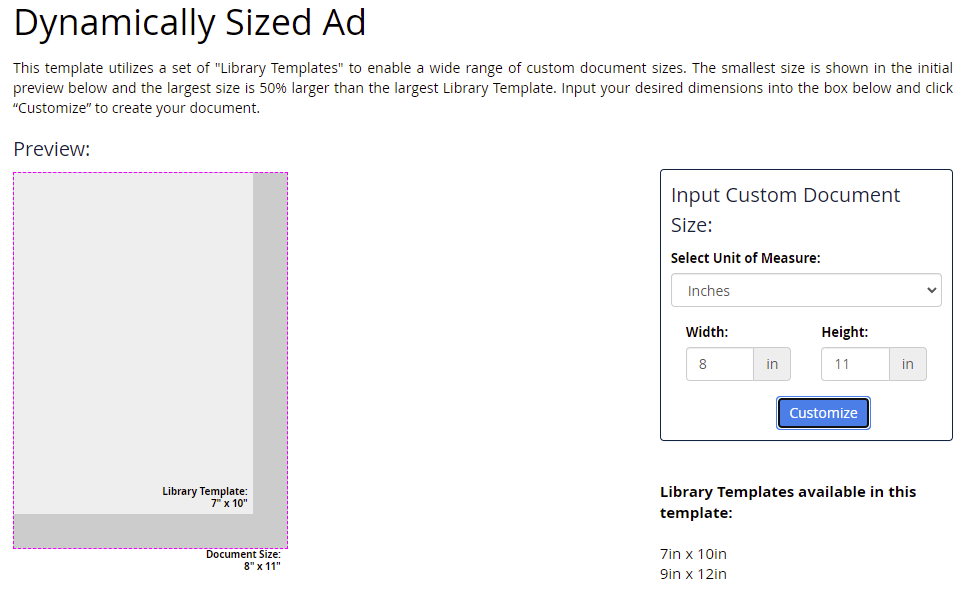
To adjust the template size, just type the width and height of your document in the fields provided. For a print template, you may also select a unit of measure. The options are inches and millimeters. For digital templates, the only available unit of measure is pixels.
In the example below, the entered values are 8" x 11". As you can see there is now a dark gray box along 2 edges of the rectangle. This is visually showing you that the 7"x10" library template is being used, how much adjustment is being made (the dark area in the rectangle) and the updated document size of 8"x11".
Once you have finished setting your document size, Click the “Create” button at the lower right corner to apply your settings and create your document.
Customizing the Template
When the template opens, notice that the dimensions to the right of the document name reflect the custom size, not the default size.

Sometimes, the Administrator might have used the template dimensions as part of the name. Do not be confused between the document name and the document dimensions. In the example below, the custom size is 8"x11", but the system Administrator used the dimensions 7"x10" in the name. If you wish, you can update the name of the document by clicking the "(Document Name)" link.

At this point, the document is customized and completed just like any other template.